After soaking in the California sun over the holidays, there is nothing like returning to your own bed, and your own kitchen (though I wish I could have brought the weather back to MN)! In attempts to start the year of on a healthy-ish note, one of the first meals on my list was dry-rubbed pork ribs. The reason I love this so much has to do with the simplicity of the ingredients and the little work needed in order to prepare a delicious, hearty yet healthy meal.
Here’s the run down:
– 2-3 lbs of pork ribs (though I am sure you could use any meat of your choice)
– 1/2 teaspoon cayenne pepper
– 2 teaspoons ground cumin
– 4 teaspoons paprika
– 2 teaspoon dry oregano
– 2 teaspoons brown sugar
– 2 teaspoons salt
– 1 tablespoon McCormick Grill Mates Steak Rub
– 30-ish grinds of fresh black pepper
– 4-6 tablespoons olive oil
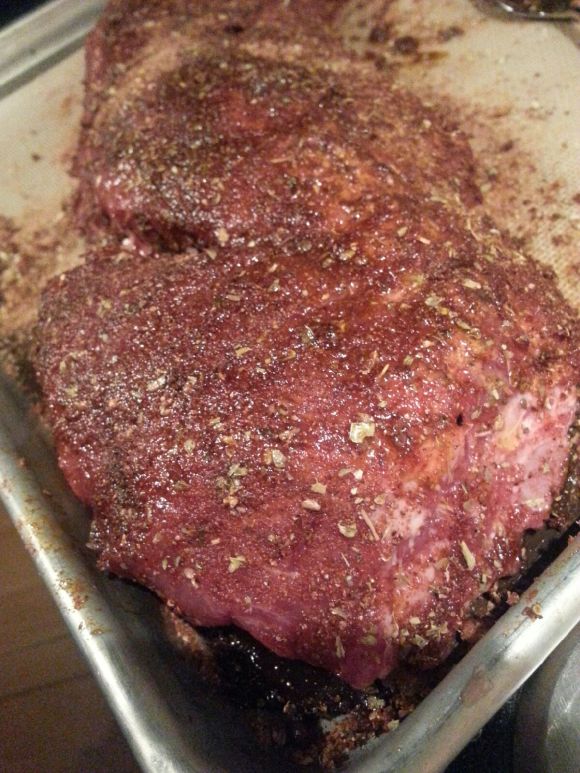
I started by preheating the oven to 300 degrees and then set out to make the perfect dry rub. In a small bowl I combined cayenne pepper, ground cumin, paprika, dry oregano, brown sugar, salt, black pepper and McCormick Grill Mates Steak Rub. Once combined, set aside.
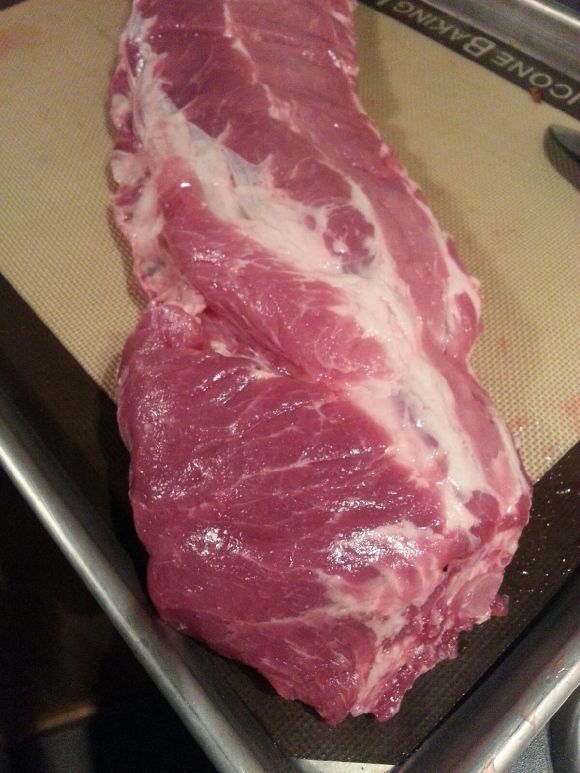
I unwrapped the pork ribs and flipped them over with the meat side facing down. It is clear that there is a thin membrane on the back of the ribs, and this must be removed. While it often takes a little fingernail to get is started, this go round I used a sharp knife to lift the end of the membrane, then grabbed tightly with my fingers and removed it in one steady motion. Don’t rush and it should come off in one big piece– discard. I promise you won’t need this!
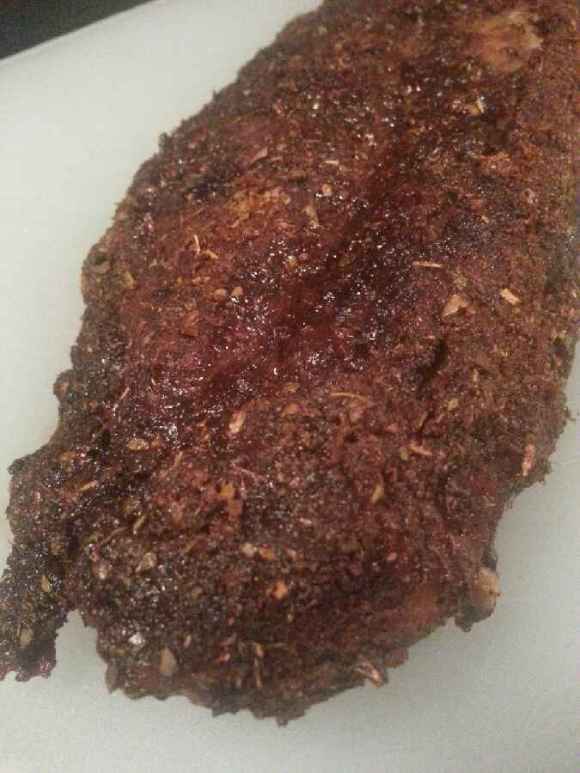
The next step was to lightly coat the ribs in olive oil– I know many people use veggie oil but I opted for the healthier route, totally up to you! Once evenly coated, I used my hands to sprinkle and rub the seasoning into the meat; both the fleshy side and the rib side. I did use all seasoning to coat the entire rack. I dropped those ribs on a cookie sheet lined with a silicone baking liner and popped those babies in the oven for 2.5 hours and boy was the aroma in my condo wonderful!
Once I pulled them from the oven, I let the ribs “settle” on the cutting board for about 10 minutes.
1. Because they will continue cooking
2. To save my fingers for horrendous burns
After they cooled slightly, I grabbed a big butcher knife and stood the ribs on their side, so as to easily visualize the bones and evenly cut between each rib. Depending the size of the rack, you may need a partner to help hold one end while you are cutting the other. Once cut, time to eat!I sided mine with a diced avocado sprinkled with salt and pepper and his with some homemade cheesey rice.
These turned out nice a moist but with a bit more kick than I had anticipated, while I loved them, if you are spice-sensitive, I would suggest cutting back on the cayenne. I plan to cut back slightly on the cayenne and incorporate both garlic and onion powder in my next attempt!
Cheers to a new year and to getting on track! Swimsuit season… I can see you in the distance!!!


